I wanted to install TensorFlow GPU on my Kubuntu System (currently 16:04 LTS but I believe it also works for 18.04LTS). I am interested in trying TensorFlow with both Java and Python, I have done some testing with Python so far. Java I will try later.
I first updated my system to ensure that all the packages were up to date, and I also used the Driver utility to install the NVidia Driver, version 396.54. TensorFlow uses Cuda 9.0 at the minute so you have install the version, you can get it here. I use the local runfile, this is as it is an easy way of getting cuda installed in /usr/local and the samples installed in your home directory. If like me you have already installed the Nvidia drivers, skip the step to install the drivers as its not required.
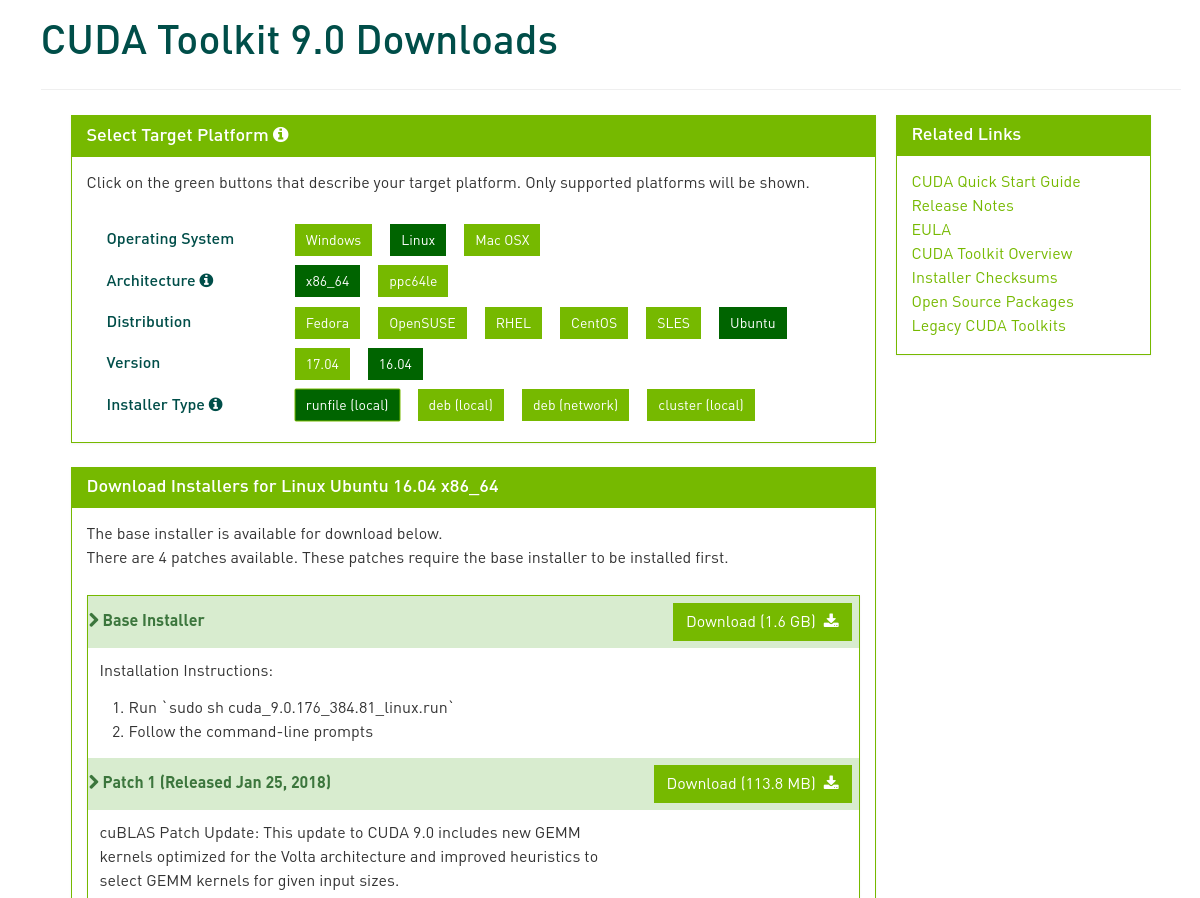
Once you have it downloaded run it, remembering to skip the driver install if you have them installed already.
sudo ~/Downloads/cuda_9.0.176_384.81_linux-run
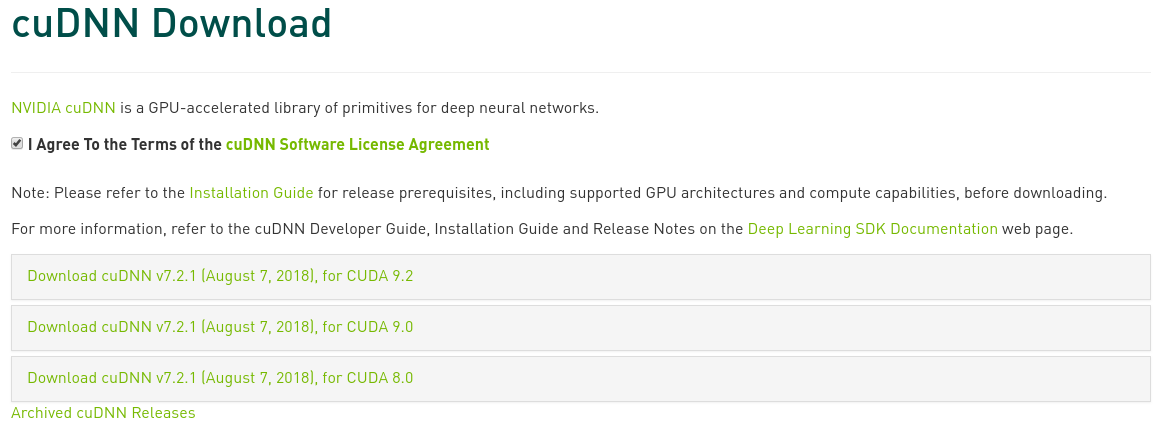
TensorFlow also needs Nvidia cuDNN to work, you have to join as a Nvidia developer and then you can download this, pick the version for Cuda 9.0.
This can easily be installed in the terminal.
tar xvzf cudnn-9.0-linux-x64-v7.2.1.38.tgz
sudo cp -P cuda/include/cudnn.h /usr/local/cuda-9.0/include
sudo cp -P cuda/lib64/libcudnn* /usr/local/cuda-9.0/lib64
sudo chmod a+r /usr/local/cuda-9.0/include/cudnn.h /usr/local/cuda-9.0/lib64/libcudnn*
Make sure that your .bash_profile file in your home dir contains something like (I am not sure the last one is needed, seems to be in there from ages ago):
export PATH=/usr/local/cuda/bin:$PATH
export LD_LIBRARY_PATH=/usr/local/cuda/lib64:$LD_LIBRARY_PATH
export LD_LIBRARY_PATH="$LD_LIBRARY_PATH:/usr/local/cuda/lib64:/usr/local/cuda/extras/CUPTI/lib64"
export CUDA_HOME=/usr/local/cuda
Note that I have a symlink from /usr/local/cuda to /usr/local/cuda-9.0/. That is cuda installed, you can check it is working by compiling one of the samples that use it.
Next install TensorFlow, I did this in the python evironment, the full details are here. As I have a Tesla K20 in this system I installed the version with GPU support. I use python 3.5.
#install pip and virtualenv
$ sudo apt-get install python3-pip python3-dev python-virtualenv

#upgrade pip
$ sudo pip install -U pip

#make a dir to work out of
$ mkdir ~/tensorflow
$ cd ~/tensorflow

# I chose Python3 environment for the environment directory:
$ virtualenv --system-site-packages -p python3 environment_dir

#activate the environment
$ source ~/tensorflow/environment_dir/bin/activate

#in the virtual environment upgrade pip
(environment_dir)$ pip install -U pip

#then install tensorflow with gpu support
(environment_dir)$ pip install -U tensorflow-gpu

#check it works
(environment_dir)$ python -c "import tensorflow as tf; print(tf.__version__)"
That should be it!